Creating a personal static site with Astro and Cloudflare
If you’d like to have a blog running Astro, and hosted on Cloudflare like I do here at mutahhir.dev, you’re in luck. I’m going to explain how I did it.
For the upteenth time, I decided to have a blog.
As is par for the Mutahhir course, I decided on a completely new technology and platform for this. I’m trying to be funny here, but in reality, the whole point of mutahhir.dev is going to be experimentation.
It won’t be that experimental if I just use the same technology and platform I always use, eh? Side benefit, I get my first blog post out of this experiment. So we all win.
I’m not saying Astro + Cloudflare is the best option for your site though. I thought long and hard about just going full HTML + CSS only for a bit. I like writing in Markdown though, and doing the whole conversion dance wasn’t that appealing to me. Also — in typical Mutahhir fashion — I thought what if I wanted something interesting like interactive elements later? For that, it might be good to use MDX.
MDX is this interesting mix where Markdown and JSX are mixed together. This seems to me like the right balance for writing with still having the ability to add interactivity without going completely crazy.
While MDX is really cool, and just what I needed, it works on single files. Making a full blog with it would require either additional developmental effort, or using an existing framework.
That’s where Astro comes in.
Not that Astro was the only option. There are some other options, like NextJS but Astro supported it out of the box, and I wanted the least amount of friction between creating the blog and writing.
Getting started with Astro
As a relative Astro newbie, I thought it was pretty easy to set up, and it was probably the best looking

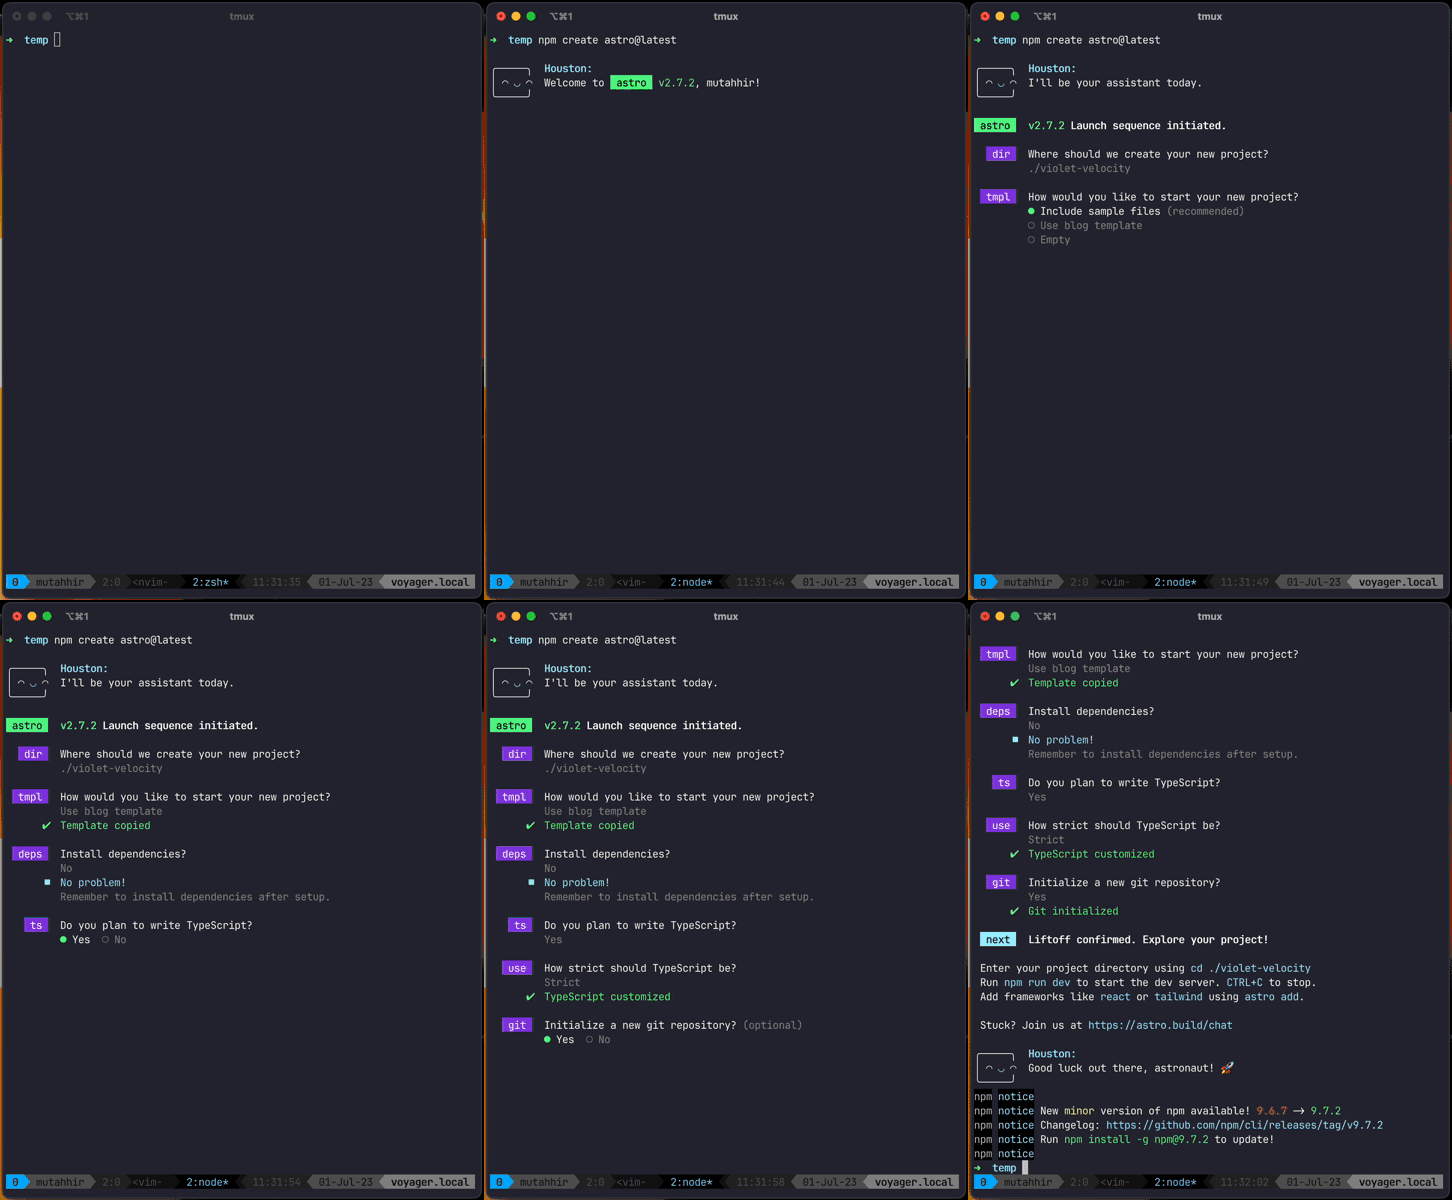
As the above image shows. Kickstarting an Astro project is a simple npm create command.
npm create astro@latestI chose the Use blog template option to make things easy to start.
Again, the point is to get to writing and not making the ultimate engineered blog. Been there, done that, failed miserably, not doing that again.
This time I fail differently 😤.
As you can see from my expertly curated emoji, I like to sprinkle them in my writing, but I hate the editor support for emojis and much prefer using shortcodes than the actual emojis. For this, I used the remark-emoji package.
   import emoji from "remark-emoji";

   // https://astro.build/config
   export default defineConfig({
     site: "https://mutahhir.dev",
     integrations: [
       mdx({
         remarkPlugins: [emoji],
         rehypePlugins: [rehypeAccessibleEmojis],
         gfm: true,
       }),
       sitemap(),
     ],
   });
There’s actually not much else here to do with Astro. Play around with the generated files, remove the stuff you don’t need, and fiddle with CSS until you’ve gotten everything the way you want to. Don’t forget to write though! All this can be changed later.
Deploying your blog to Cloudflare
In the spirit of trying new things, I also haven’t deployed a ‘Pages’ site on Cloudflare. I’m going to be following the docs here. I already have the domain all set up within Cloudflare, so I’ll be starting with the steps that deploy my blog.
I first add the Cloudflare adapter. I have to say that this command is also amazing. Whomever designed the developer experience of this Astro CLI is the best in the business.
npx astro add cloudflareFrom here on, we need to follow steps on the Cloudflare UI.
- Login to the Cloudflare dashboard
- Click on Workers & Pages on the sidebar
If you have existing Pages projects, you’ll have to click on the Create application button.
- Select the tab Pages.
- Click Connect to Git.
- Follow the subsequent steps to connect your repository to Cloudflare.
This part is a bit wonky, but the one place where I got stuck was if I didn’t add the following Environment variable:
NODE_VERSION to whatever the LTS version is. At the time of writing, it was 18.12.0.
This was actually a lot simpler than I thought.
Now, it’s time to connect the blog to my domain mutahhir.dev.
Since I already have my domain set up in Cloudflare, all I need to do is to click on on the name of the Pages card which takes me to the detail view of the Pages site.
Then I visit the Custom domains tab, and click Set up a custom domain.
I then write my domain mutahhir.dev, and activate my domain. Cloudflare gives me an overview of the changes it’ll make to the DNS settings of my domain. Review them, but I expect the changes would be pretty simple for most setups.
With all of this done, this post and the website is up.
I had set a deadline for myself to release all this within a day, and I have to say with some of my detours in Astro and MDX land, I almost didn’t make it.
